
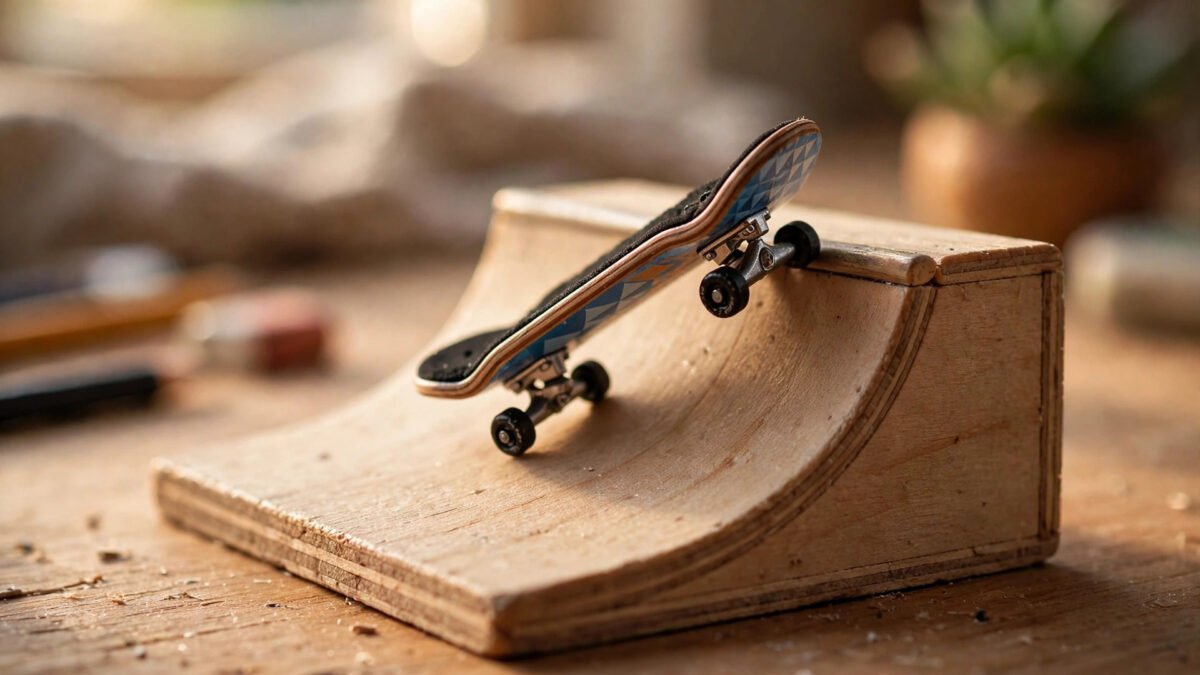
Fingerboard ramps and Tech Deck fingerboards turn a tabletop into a miniature skatepark. If you have ever been curious about the tiny skateboards you steer with your fingers — or you picked one up years ago and want to take it further — this guide covers everything: what fingerboard ramps are, the main types, how to choose and set up your gear, and the beginner tricks to learn first.
Whether you are buying your first ramp or levelling up a growing collection, you will find practical, jargon-free advice below.
What Is a Tech Deck Fingerboard?
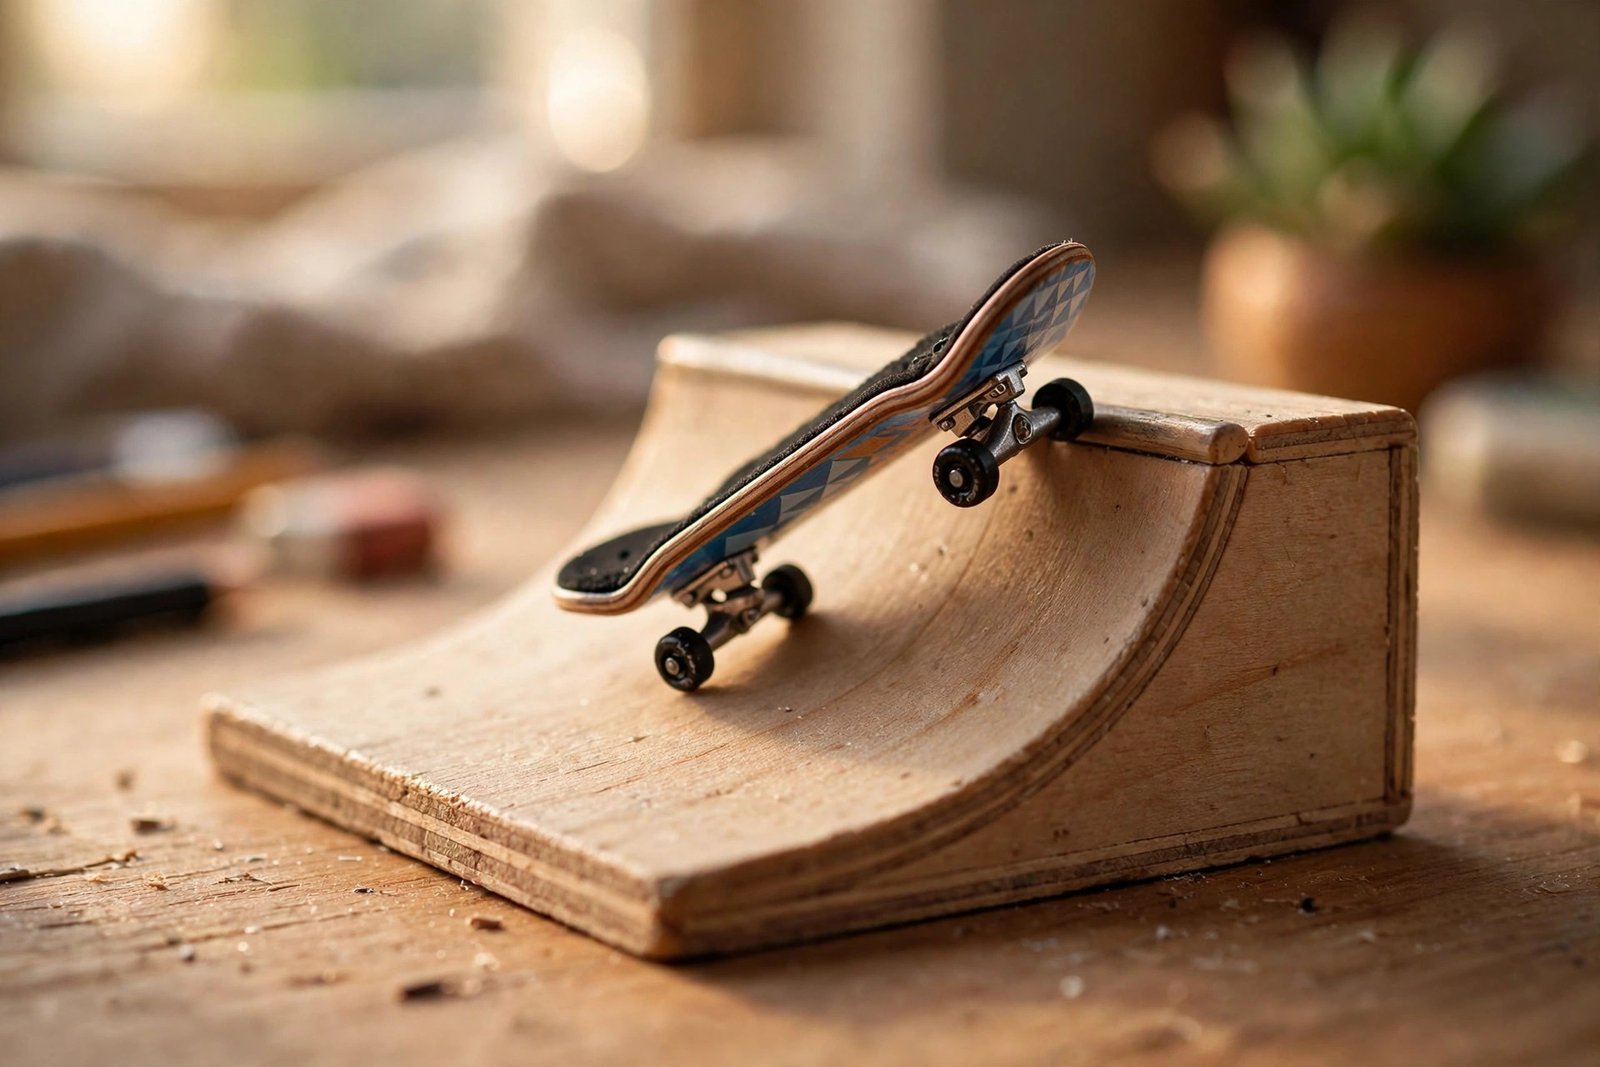
A fingerboard is a miniature skateboard, typically around 96–100mm long, designed to be ridden with your fingers instead of your feet. Your index and middle fingers act as your “legs,” performing ollies, flips, and grinds on scaled-down obstacles. Tech Deck is the best-known brand in the space, made by Spin Master, and its boards are sold in toy shops, skate shops, and online stores worldwide.
A standard setup has four parts: the deck (the board itself, made of plastic or layered wood), the trucks (the metal T-shaped assemblies the wheels attach to), the wheels (tiny, usually plastic or urethane), and grip tape (the rough surface on top that gives your fingers traction). Higher-end “pro” fingerboards use real wood decks, precision trucks, and smoother bearings — closer to the feel of a real skateboard, scaled down.
Fingerboarding sits at a fun intersection of toy, hobby, and sport. There are casual users who fiddle at their desks, serious hobbyists with elaborate ramp collections, and even organised competitions with judged runs, much like real skateboarding contests.
Types of Fingerboard Ramps
Ramps are what turn fingerboarding from a novelty into a genuine skill hobby. They replicate the obstacles of a real skatepark at finger scale. Here are the main types you will encounter.
Quarter Pipes and Half Pipes
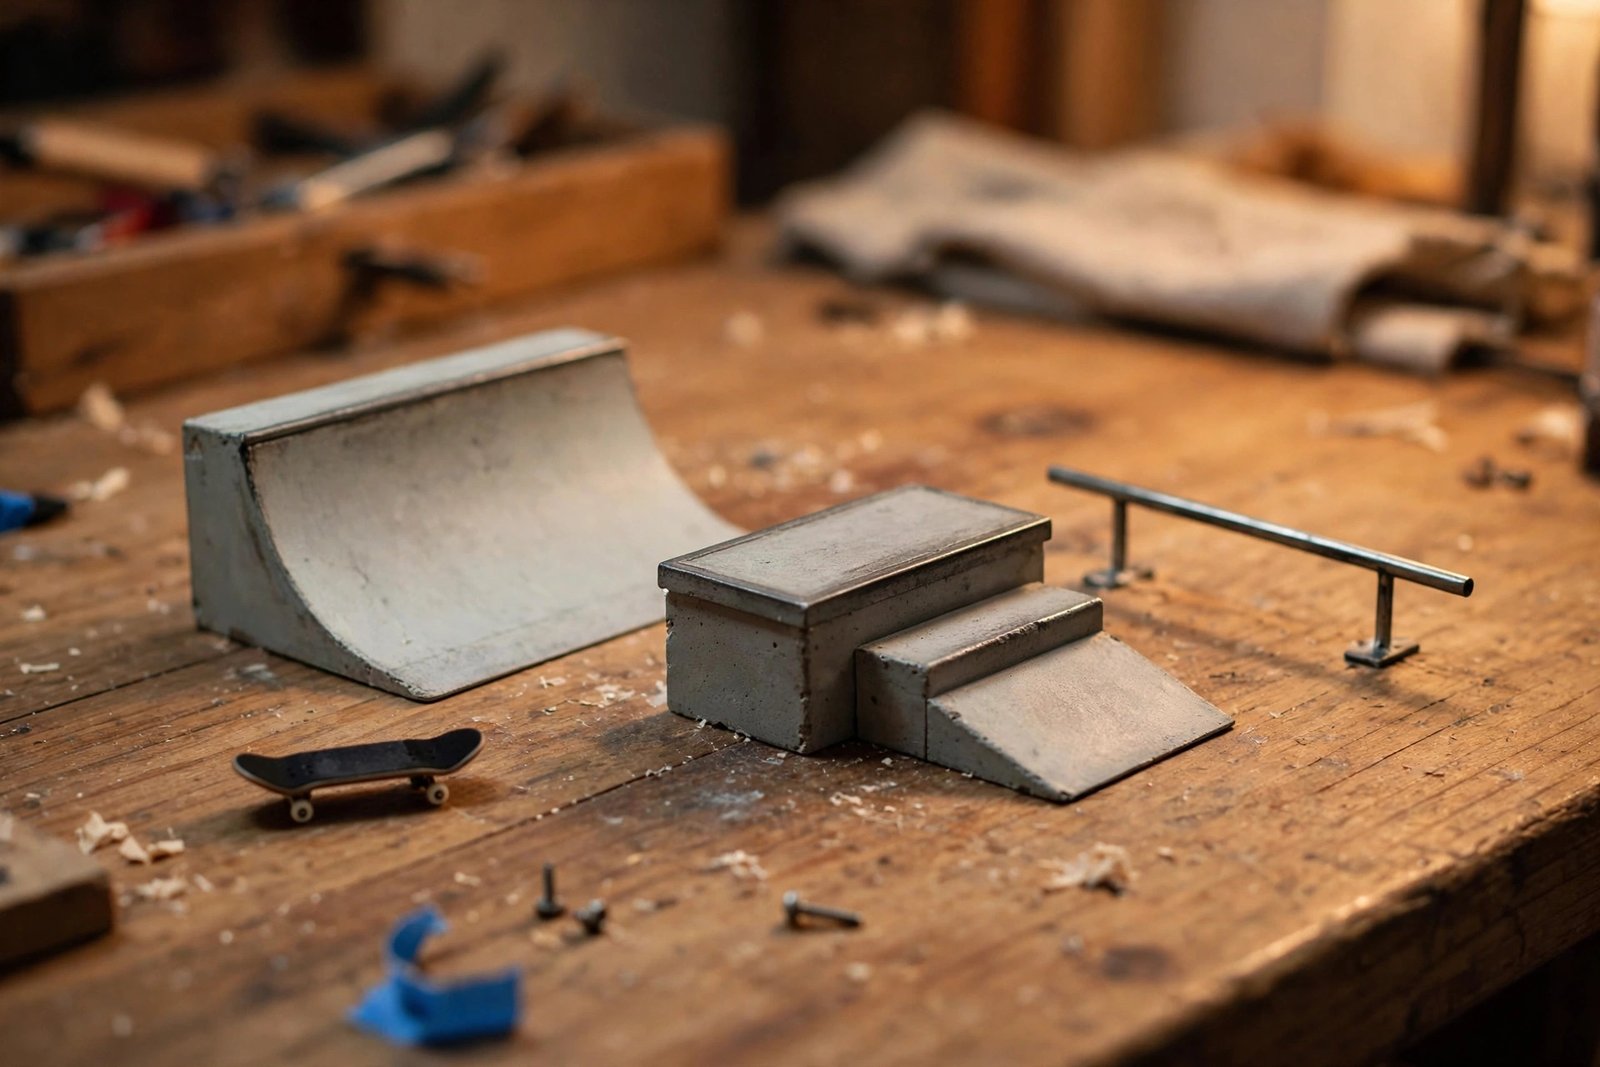
Quarter pipes are curved ramps that launch the board upward, letting you practise airs, stalls, and transitions — the flowing, back-and-forth style of skatepark riding. A half pipe is essentially two quarter pipes facing each other. These are excellent for learning board control and building the rhythm of pumping for speed. They take up a fair amount of desk space, so measure before you buy.
Rails and Ledges
Flat bars, round rails, and ledges are for grinding and sliding — some of the most satisfying tricks in fingerboarding. A simple flat rail teaches you to lock into grinds and slide the length of the bar; round rails are trickier and reward precise finger placement. Ledges mimic the concrete edges found at real skate spots and are great for practising slides and technical combinations. Rails are usually affordable and compact, making them a popular first purchase.
Funboxes and Stairs
A funbox is a box-shaped obstacle, often with ramps on the sides and a flat top — sometimes with a rail or ledge mounted on it. Stairs are stepped obstacles for practising flip tricks down or over gaps. These multi-feature obstacles are brilliant for linking tricks together into lines: ride up one side, grind across the top, and land a flip off the other side. They offer the most variety per square centimetre of desk.
Combo Sets and DIY Ramps
Many brands sell starter sets that bundle a small ramp, a rail, and sometimes a fingerboard together — an easy, affordable way in. At the other end of the spectrum, experienced hobbyists build custom ramps from wood, 3D-print their own obstacles, or craft elaborate miniature skateparks. DIY ramps can be as simple as a book propped at an angle or as ambitious as a hand-built wooden bowl. If you enjoy making things, this is one of the most rewarding corners of the hobby.

Choosing the Right Ramp for Your Level
With so many options, it helps to match your first purchases to your skill level and space:
- Complete beginners: start with a flat rail or a small funbox. They are forgiving, compact, and teach the fundamentals of grinds and board control.
- Building confidence: add a quarter pipe to learn transitions and airs, or a ledge for slides.
- Going further: combine obstacles into a small park layout so you can practise lines — sequences of tricks flowing from one obstacle to the next.
- Space matters: a full setup can sprawl. A single rail fits in a drawer; a half pipe needs a dedicated table. Buy for the space you actually have.
- Material quality: plastic ramps are cheap and fine for starting out; wooden ramps feel better, last longer, and slide more realistically.
There is no need to buy everything at once. Most fingerboarders start with one or two obstacles and expand as their trick list grows — which keeps the hobby affordable and the learning curve enjoyable.
Setting Up Your Fingerboard and Ramp
A well-set-up board makes learning dramatically easier. Check these basics:
- Truck tightness: trucks should be snug but allow the board to turn. Too loose and the board feels wobbly; too tight and it will not carve. Adjust in small increments.
- Grip tape: fresh grip tape gives your fingers the traction tricks require. Replace it when it looks shiny or feels slippery.
- Wheels: make sure wheels spin freely. A drop of lubricant on the bearings (if your board has them) keeps things rolling smoothly.
- Ramp surface: place ramps on a non-slip mat or table so they do not slide away mid-trick. A damp cloth under a plastic ramp works in a pinch.
- Finger position: the classic stance is index finger on the front bolts and middle finger on the tail. Keep fingers relaxed — tension kills control.
Beginner Tricks to Learn First
Learn in roughly this order — each trick builds on the last:
- The ollie. The foundation of everything: pop the tail down with your middle finger while sliding your index finger forward to level the board in the air. Practise on flat ground until it is consistent.
- The shove-it. Scoop the tail so the board spins 180 degrees beneath your fingers, then catch it. A great first “flippy” trick.
- The kickflip. Flick your index finger off the edge of the board to make it flip lengthwise. This takes patience — short, regular practise sessions beat occasional marathons.
- The 50-50 grind. Ollie onto a rail or ledge landing with both trucks on top, slide, and roll away clean.
- Drop-ins and transitions. Once you have a quarter pipe, learn to drop in from the top and pump for speed — it opens up a whole flowing style of riding.
Film yourself occasionally, even just on a phone. Watching your own attempts in slow motion reveals what your fingers are actually doing versus what they feel like they are doing — the fastest route to fixing bad habits.
Taking Care of Your Setup
Fingerboard gear is small but not indestructible. Wipe grip tape clean with a soft brush, check truck screws periodically (they loosen with use — a tiny screwdriver is a fingerboarder’s best friend), and store boards away from heat, which can warp plastic decks. Wooden ramps benefit from an occasional wipe-down; keep them dry to prevent swelling.
If a truck bends or a wheel cracks, replacement parts are widely available and cheap — part of the appeal of the hobby is that maintenance is simple and inexpensive compared to full-size skateboarding.
Upgrading Your Fingerboard Over Time
Once the basics click, small upgrades make a noticeable difference. Many riders start by swapping the stock grip tape for a higher-quality foam or rubber grip, which gives finer control for flip tricks. Next comes the trucks: precision-machined trucks turn more smoothly and hold their tuning longer than basic cast ones. Wheels are another popular upgrade — harder wheels slide faster on rails, while softer ones grip better on ramps, so your choice depends on the tricks you favour.
The deck itself is usually the last thing to change, and the most personal. Wider decks suit riders with bigger fingers or a street-trick style; narrower decks feel nimbler for technical flip tricks. There is no single “best” setup — the right combination is the one that disappears under your fingers so you can focus entirely on the trick. Experiment gradually, change one component at a time, and give each change a few sessions before judging it.
The Fingerboarding Community and Culture
One of the best things about fingerboarding is how much of it lives online. Video platforms are full of trick tutorials, product reviews, ramp-building projects, and competition footage — an endless supply of inspiration and instruction. Written guides and tech-culture sites also cover the hobby from the gadget angle; if you enjoy reading about niche tech interests, the kind of online content found on publications like Tigorshow’s technology guides shows how enthusiast communities document their passions in depth.
Fingerboarding also appeals to the same instincts as other hands-on tech hobbies — the fiddly satisfaction of tuning tiny hardware will feel familiar to anyone who enjoys gadgets and gear. Our practical tips for technology users capture that mindset well: small, deliberate improvements that make the things you use every day work better. And if you like skill-based pastimes you can practise anywhere, you may also enjoy our look at gaming platforms and tips — another hobby where short, regular sessions build real skill over time.
Locally, skate shops sometimes stock fingerboard gear and may know about meetups; online forums and social media groups are the easiest way to find other fingerboarders, share clips, and get feedback on your progress.
Frequently Asked Questions
What is the difference between a Tech Deck and a pro fingerboard?
Tech Deck boards are mass-market plastic fingerboards — affordable, widely available, and perfect for starting out or casual play. “Pro” fingerboards typically use real layered-wood decks, higher-quality trucks, and smoother wheels or bearings, giving a feel closer to real skateboarding. Many riders start with Tech Deck and upgrade once they are hooked.
How much space do I need for fingerboard ramps?
Very little to start: a single rail or small funbox fits on any desk and stores in a drawer. Larger obstacles like quarter pipes and half pipes need a dedicated table or floor area. Plan your purchases around the space you actually have rather than the setup you dream about.
Are fingerboard ramps expensive?
Not particularly. Basic plastic ramps and rails are inexpensive, and starter combo sets bundle several obstacles affordably. Wooden or hand-crafted ramps cost more but last longer and perform better. Compared to full-size skateboarding, it is a very budget-friendly hobby.
How long does it take to learn fingerboard tricks?
Basics like a clean ollie can come within days or weeks of regular practise; flip tricks and consistent grinds typically take longer. Short daily sessions are more effective than occasional long ones, and filming yourself helps you spot and fix mistakes faster.
Can I make my own fingerboard ramps?
Absolutely — DIY ramps are a beloved part of the hobby. Simple options include propping books at angles or shaping cardboard; more ambitious builders use wood or 3D printing. Just make sure surfaces are smooth and stable so tricks are consistent and safe for your gear.
Is fingerboarding just for kids?
Not at all. While Tech Deck is sold as a toy, the hobby has a large adult following, including competitive events with judged runs. The skill ceiling is genuinely high — dedicated fingerboarders practise for years, much like musicians or athletes in any precision discipline.
What should I look for when buying my first ramp?
Start with versatility and size: a small funbox or flat rail teaches the most useful fundamentals and fits anywhere. Check that the ramp sits stably on your surface, that edges are smooth (rough edges damage boards), and read reviews from other fingerboarders before choosing between plastic and wood.
Conclusion
Fingerboard ramps turn a pocket-sized toy into a genuine skill hobby. Start simple — a decent board, one versatile ramp, and the patience to practise your ollie — and let your setup grow with your abilities. Whether you end up filming competition-ready lines or just fiddling happily at your desk, the tiny skatepark is always open.
Pick up a board, clear a corner of the table, and give that first ollie a try. Your fingers will thank you — eventually.


Leave a Reply